
Settings & API Keys
The Settings page lets you manage your workspace configuration, team members, connectors, notification channels, webhooks, and API keys.
Workspace Settings
Section titled “Workspace Settings”Name and Preferences
Section titled “Name and Preferences”- Go to Settings > General.
- Update the workspace name or other preferences.
- Click Save.
The workspace name appears in the sidebar, notifications, and exported configurations. Choose something descriptive, especially if your organization uses multiple workspaces (e.g., Production, Staging, Analytics).
Members
Section titled “Members”Manage who has access to your workspace and what they can do.
Viewing Members
Section titled “Viewing Members”Go to Settings > Members to see all current workspace members, their email addresses, and their roles.
Inviting Members
Section titled “Inviting Members”- Enter the user’s email address in the form at the top of Settings > Members.
- Select a role: Admin, Editor, or Viewer.
- Click Send Invite (Create Invite when the server has no SMTP configured).
Synclet shows the invitation link and, with SMTP configured, emails it. The invitee opens the link, signs in or creates an account, and joins. Pending invitations are listed with the members, where you can resend or revoke them. See Inviting a Member for the whole flow.
Changing Roles
Section titled “Changing Roles”- Find the member in the list.
- Click the role dropdown next to their name.
- Select the new role.
Role changes take effect immediately.
Removing Members
Section titled “Removing Members”- Find the member in the list.
- Click Remove and confirm.
Removed members lose access to the workspace immediately. Their past actions (created connections, triggered syncs) remain in the history.
For a detailed explanation of what each role can do, see Workspaces & Roles.
Connectors
Section titled “Connectors”Settings > Connectors lists the workspace’s installed source and destination connectors, with stars, updates and custom images, and its connector repositories. Every new workspace gets two repositories: Airbyte’s public OSS registry and Synclet’s own. See Managing Connectors.
Notifications
Section titled “Notifications”Manage your workspace’s notification channels and rules from Settings > Notifications. From here you can:
- View all configured channels (Slack, Email, Telegram).
- Add, edit, or delete channels.
- Test a channel to verify it works.
- Create notification rules that link channels to connections and events.
For outbound HTTP integrations (e.g., calling external systems on sync events), see Webhooks.
For detailed setup instructions, see the Notifications guide.
API Keys
Section titled “API Keys”API keys provide programmatic access to the Synclet API, scoped to the workspace where they are created.
Creating an API Key
Section titled “Creating an API Key”- Go to Settings > API Keys.
- Enter a descriptive name (e.g.,
github-actions,terraform-pipeline). - Choose when it expires: never, in 30 days, 90 days, a year, or on a custom date.
- Click Create key.
- Copy the key immediately — it is displayed only once.
Permissions
Section titled “Permissions”API keys inherit the permissions of the user who created them, scoped to the current workspace:
| Creator’s Role | API Key Can |
|---|---|
| Admin | Full access — manage settings, members, sources, destinations, connections. |
| Editor | Create and modify sources, destinations, and connections. Cannot manage members or settings. |
| Viewer | Read-only access to configurations, job history, and logs. |
Using an API Key
Section titled “Using an API Key”The API is ConnectRPC: every call is a POST to /<package>.<Service>/<Method> with a JSON body. Include the key in the Authorization header:
curl -X POST \ -H "Authorization: Bearer synclet_sk_your_api_key_here" \ -H "Content-Type: application/json" \ -d '{}' \ https://synclet.example.com/synclet.publicapi.pipeline.v1.ConnectionService/ListConnectionsCommon CI/CD Use Cases
Section titled “Common CI/CD Use Cases”API keys are ideal for automation:
# Trigger a sync from a CI/CD pipelinecurl -X POST \  -H "Authorization: Bearer $SYNCLET_API_KEY" \  -H "Content-Type: application/json" \  -d '{"connectionId": "<connection-id>"}' \  https://synclet.example.com/synclet.publicapi.pipeline.v1.JobService/TriggerSync
# Check connection status in a deployment scriptcurl -s -X POST \  -H "Authorization: Bearer $SYNCLET_API_KEY" \  -H "Content-Type: application/json" \  -d '{"id": "<connection-id>"}' \  https://synclet.example.com/synclet.publicapi.pipeline.v1.ConnectionService/GetConnection \  | jq '.connection.status'
Revoking an API Key
Section titled “Revoking an API Key”- Go to Settings > API Keys.
- Find the key and click Revoke.
- Confirm the action.
Revoked keys stop working immediately. Store the key value securely — if compromised, revoke and create a new one.
Audit Log
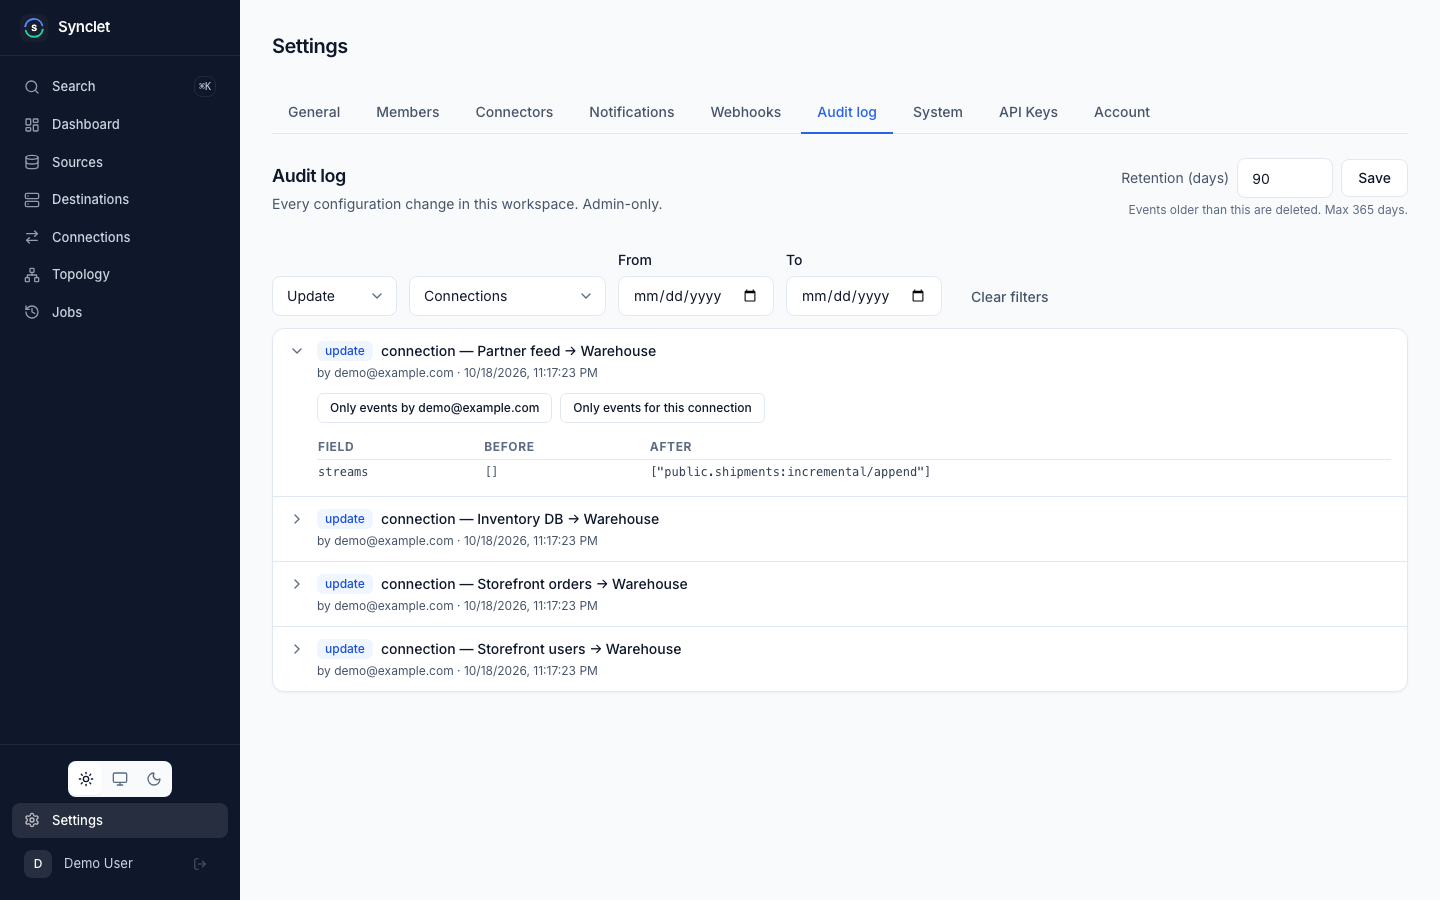
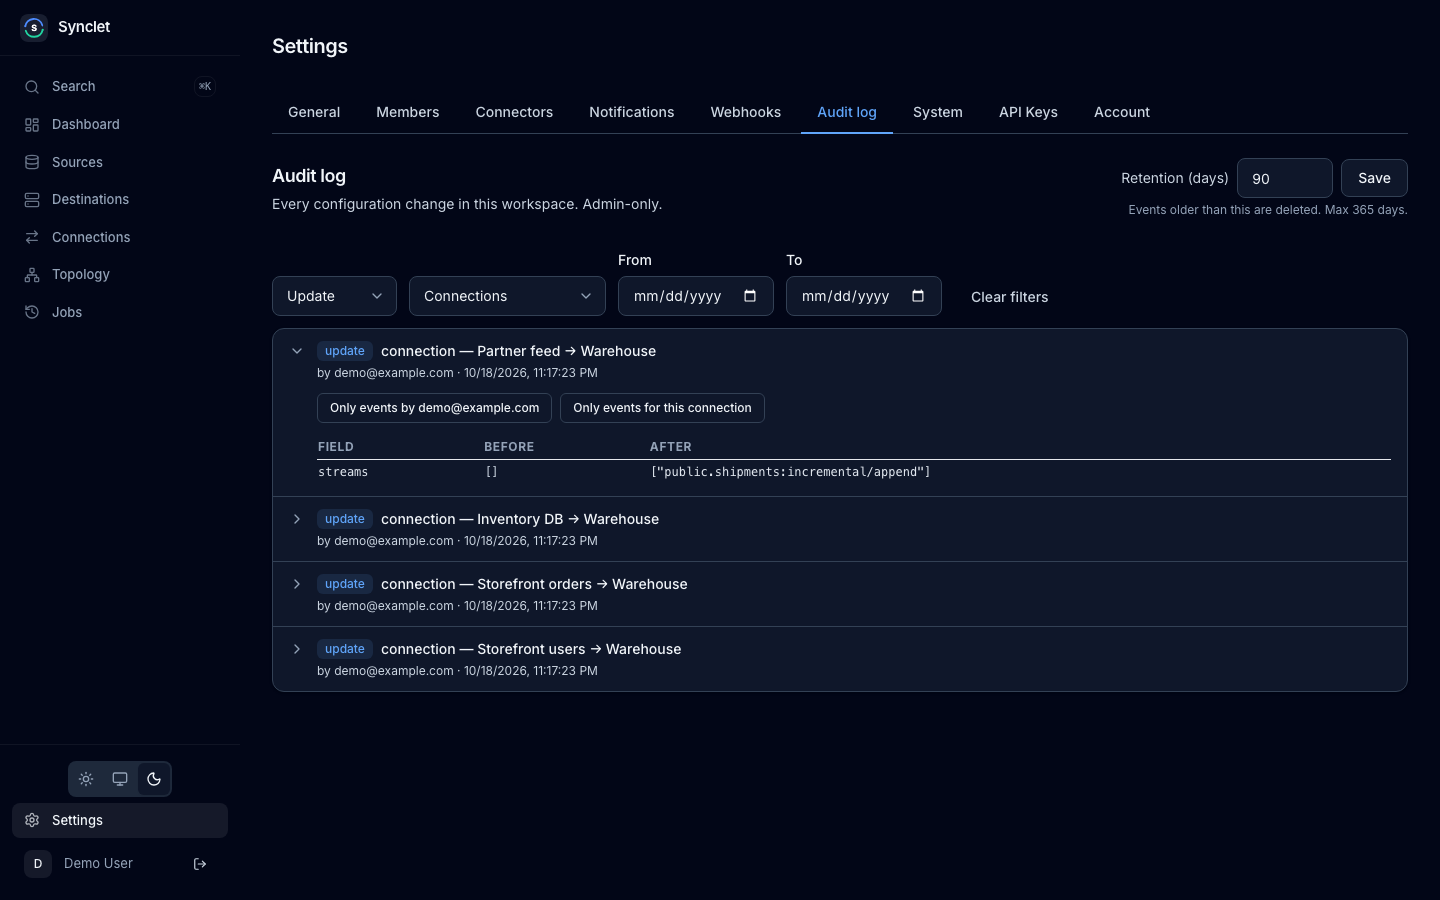
Section titled “Audit Log”Settings → Audit log lists every configuration change in the workspace, and logins and syncs, newest first. Only admins see it. Filter by action, resource type and date range; expand an event to see the fields it changed, before and after. The retention in days is set per workspace, up to the server’s AUDIT_RETENTION_MAX_DAYS (see Environment Variables).
Account Settings
Section titled “Account Settings”Account settings apply to your personal profile across all workspaces.
Profile
Section titled “Profile”Go to Settings > Account. The Profile card shows your email (read-only) and lets you update:
- Name — How your name appears to other workspace members.
Password
Section titled “Password”To change your password:
- Go to Settings > Account.
- In the Change Password card, enter your current password and the new password twice.
- Click Change password.
If you signed up through OIDC, you have no password, and Change Password cannot set one because it asks for the current password. To add one as an email/password fallback, use the Forgot password? link on the login page (requires SMTP), or ask an operator to run synclet users reset-link --email <your-email>.
Config Export & Import
Section titled “Config Export & Import”Admins can export and import a workspace’s sources, destinations and connections as a YAML file. This is useful for backups, environment migration, and disaster recovery.
Exporting
Section titled “Exporting”- Go to Settings > General.
- Click Export Configuration.
- A YAML file is downloaded containing your workspace setup.
What is Included
Section titled “What is Included”| Included | Not Included |
|---|---|
| Sources: name, connector (managed connector ID, image and tag) and config | Connection names, streams, sync modes, transforms and namespace settings |
| Destinations: name, connector (managed connector ID, image and tag) and config | Notification channels, rules and webhooks |
| Connections: source, destination, schedule, max attempts, enabled flag and tags | Workspace settings, members and API keys |
| Job history and sync state |
Importing
Section titled “Importing”- Go to Settings > General.
- Click Import Configuration.
- Select the YAML file.
- Review the changes and confirm.
Importing merges the configuration into the current workspace. Sources and destinations with matching names are updated, and a connection between the same source and destination is updated; anything else is created. New connections are named <source> -> <destination>.
Next Steps
Section titled “Next Steps”- Authentication & SSO — Set up OIDC providers and manage registration.
- Notifications — Detailed setup for Slack, Email, and Telegram channels.
- Workspaces & Roles — Understand the Admin, Editor, and Viewer roles.
Airbyte is a trademark of Airbyte, Inc. Synclet is not affiliated with, endorsed by or sponsored by Airbyte, Inc. Connector images keep their own licenses: see Connector licenses.